In Freelo, you can send tracked hours and amounts directly to Vyfakturuj.cz and issue an invoice – without manually re-entering data. Once you enter your API key, only a few clicks stand between your time reports and a finished invoice. In this article, you will find a step-by-step setup guide and tips on when the integration is most useful.
- Go to Reports > Time reports > Invoice in Freelo. Check the reports you want to invoice and proceed to the next step.
- In the second step, adjust what you want on the invoice. You can add and edit line items and directly influence the invoiced amount. TIP: This is the perfect place to add a client markup, for example.
- Click Save as invoiced to move to the next page, where you will send the data to Vyfakturuj.
- Click Invoice via app next to a line item and select Vyfakturuj.
- A settings window will appear where you enter your API key, which you can find in the Vyfakturuj app under Settings.

Where to find your Vyfakturuj API key?
The following image shows you where to find the API key you need.

How to complete the invoicing?
Once the invoice is created in Freelo, simply select which app you want to invoice through and fine-tune the last details before issuing.
You can set the date, payment method, currency, and VAT rate. If you need to issue an advance invoice, just check the Issue advance invoice checkbox.

If you choose to issue an advance invoice, the result will look something like this:
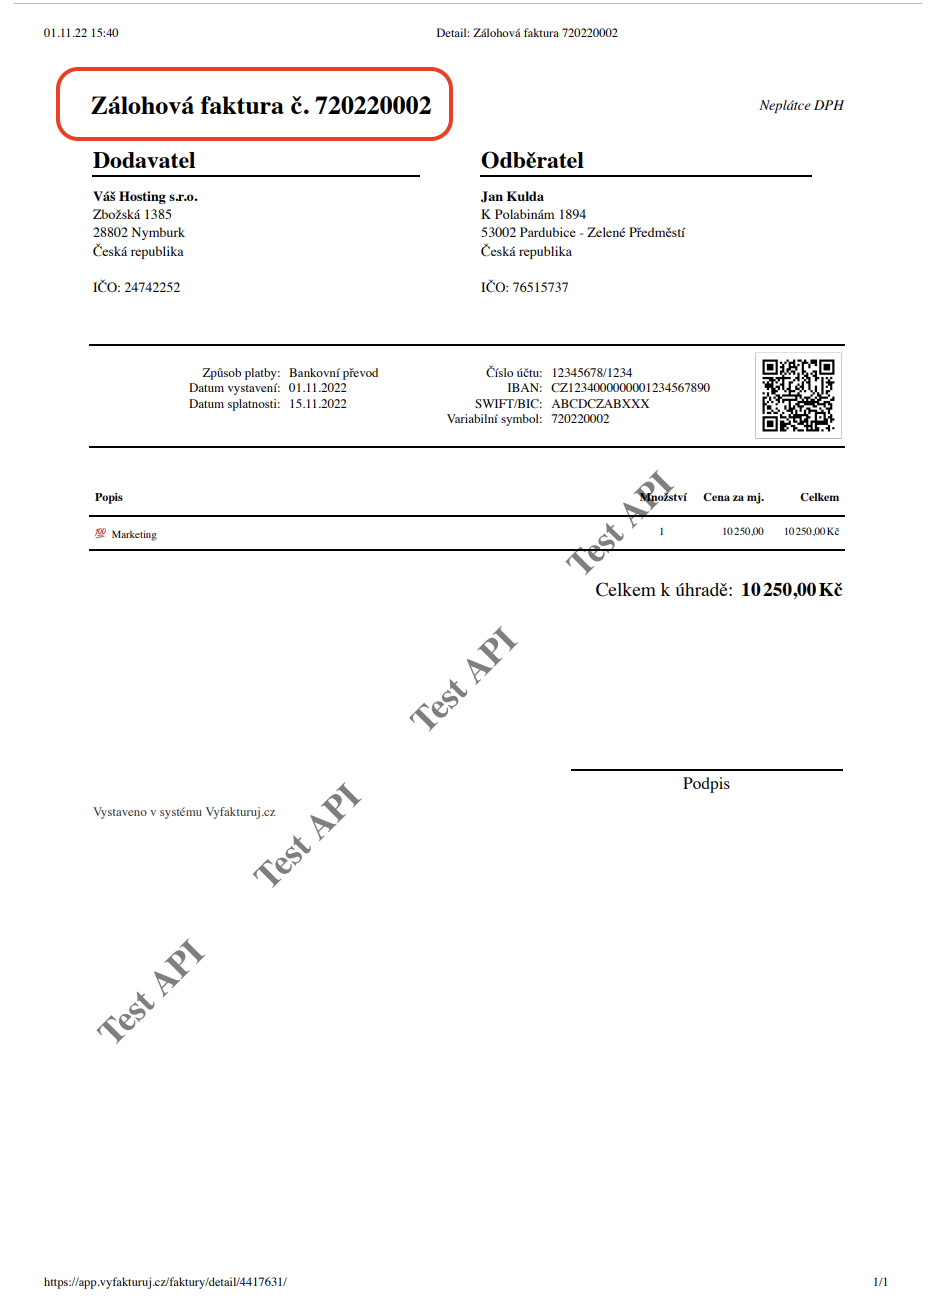
All resulting invoices (both final and advance) will appear directly in Vyfakturuj.cz. Once invoicing is complete, this is what it will look like in Freelo:

Practical Use
The Freelo–Vyfakturuj.cz integration is most useful when you regularly invoice for tracked time or fixed amounts:
- Freelancers and consultants – you track time reports in project tasks and want to transfer them to an invoice at the end of the billing period without re-entering data.
- Agencies and teams – you manage multiple projects at once and invoice each separately, sometimes with different VAT rates or currencies.
- Client markup – in the invoice editing step (step 2), you can add custom line items or increase the amount by a markup, without it appearing in the original reports.
- Advance invoice – need to collect a deposit before work begins? The integration handles that too.
Happy invoicing! ✅